

2 Ways to Crop Any Image in Silhouette Studio

Drag the edge of an image in Silhouette Studio and it just squishes. There's a much better way to crop, and it only takes a couple of clicks.

Ever tried to trim the edge off an image in Silhouette Studio, only to end up with a stretched, squished version of the same picture? It's one of those things that seems like it should be simple, and then it just isn't.

In this month's free video, we'll walk through two different ways to crop in Silhouette Studio, so you can trim any image down cleanly or drop a photo right into a shape.

Silhouette Studio doesn't have a big obvious crop button for trimming the edges off an image, so most people resize it and hope for the best. The trick is a mode a lot of crafters never touch, plus a couple of keyboard shortcuts that let you shave off exactly as much as you want, in big jumps or tiny ones.

Melissa also shows the second method: cropping a photo, a pattern or a JPEG right into a shape, like putting a picture inside a heart. It works in both Silhouette Studio V4 and V5, but there's one small detail about how your shape and image are arranged that decides whether it works at all, and it's the part that trips people up.

Crop like a pro in under five minutes

Once you've seen both methods, you'll never squish an image again, and you'll have a whole new way to use your photos in print and cut projects. Watch the full free video this month, before it moves to the members-only library.
More from Silhouette U

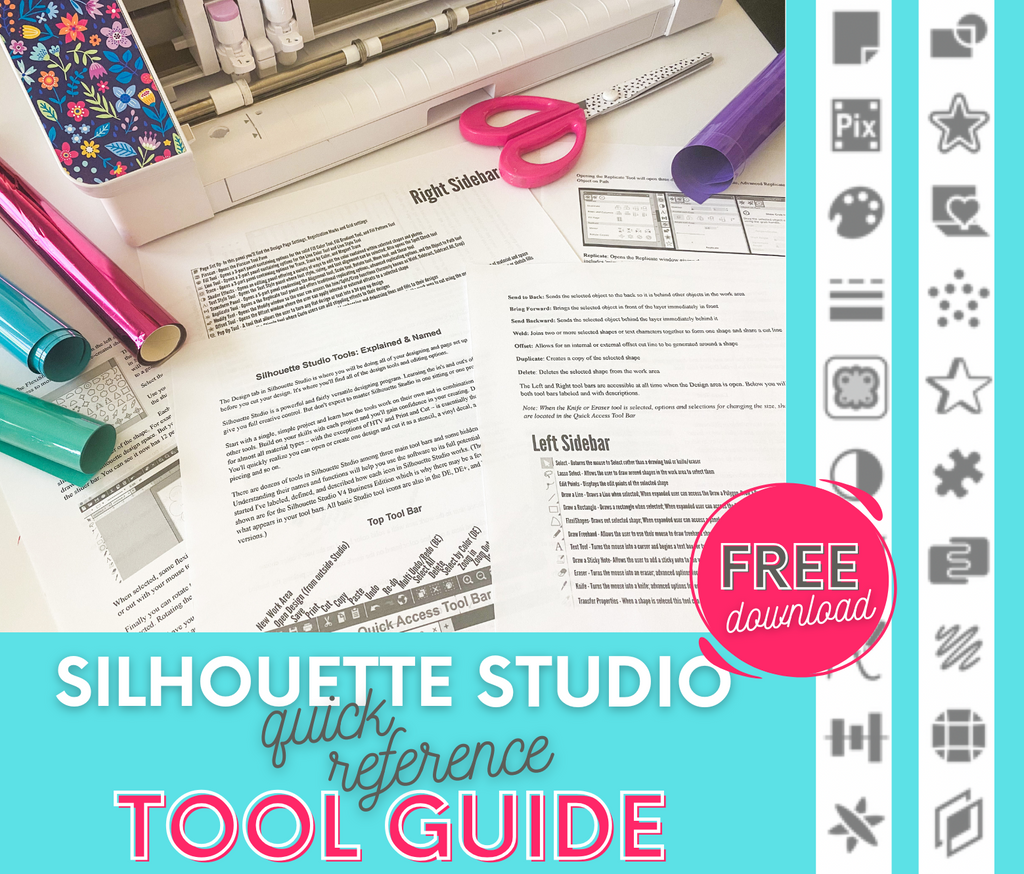
Get the Free Silhouette Studio Tool Guide

Get the Free Silhouette Studio Tool Guide

Download Now
New! UV Print Pricing Calculator

New! UV Print Pricing Calculator

Try Calculator Now
Preview Every Video in Our Exclusive Library

Preview Every Video in Our Exclusive Library

Browse Video Tutorials
What's New at SIL U Blog

Shopping Cart

Your cart is currently empty.